Tips on installing skylights on your house
Skylights provide your home with natural light. They are great for boosting energy efficiency in your home. The lights are effective at enhancing optimal light, especially in a home that has one or more seniors who struggle with fading eyesight. Skylights are not only cost effective, but also improve ventilation substantially. The lights enhance privacy while adding more life to the small spaces in your house. However, installing them on your hours is one of the challenges you need to learn to overcome.
Before delving deeper into educating you on ways of installing skylights on your hours, it would be good to inform you about a few things first. When choosing skylights, never be tempted to skimp on quality to save money. Next, remember to base the placement of skylights on the placement of rafters in your home. Try installing the skylights when the weather is fine. Take care of yourself while on the ladder or roof. Calculate the slope before investing in flashing. Always start the installation from the inside rather than outside.
That said, here is how to install them on yours without any outside help, as a DIY project:
Cut the Opening
The first step is to cut an opening in the drywall or ceiling. Normally this happens after you determine the exact location where you want the skylights installed. The opening needs to be cut from the inside. Afterward, go outside to climb the roof. While there, ascertain that nothing stands between the roof and drywall. If there is, you should find ways of solving the problem by removing the barriers. For the most part, what you have to do is re-route the plumbing, ductwork, and electrical systems.
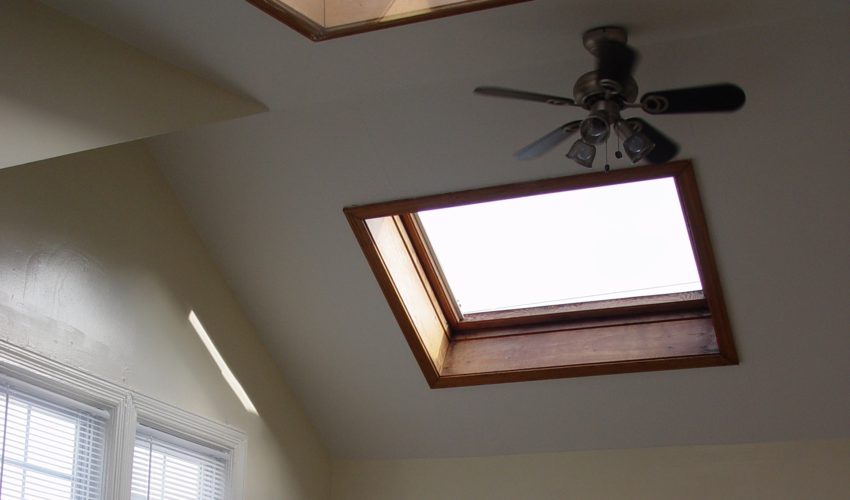
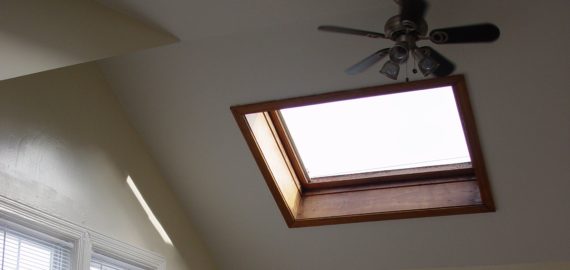
Install the Skylights
After cutting the opening on the inside and outside, your next task would be to proceed with the actual installation. Before doing this, you should have considered the sun’s path. It is highly advisable to install the skylights on the side of the roof that faces south or west. The worst mistake you can make is to install the lights on the northern or eastern sides of the roof. The reason for this is the skylights should be collecting direct sunlight. They can only do this when facing the sun directly.
Install Heat-Control Measures
Next, despite installing the skylights to collect direct sunlight, you should make plans to control the heat on the excessively hot days. Remember, when the skylights receive direct sunlight, they will likely evolve into heat traps. Invest in some remote controlled shades for this purpose. Venetian blinds do wonders when set up to control excessive heat from the skylights too. The other alternative would be to select good ventilating skylights that you can open on hot days to release the uncomfortable hot air from your home.
Build a Light Shaft
Building a light shaft is highly recommended when installing skylights on roofs that have attics above them. There is no law set in stone demanding the construction of a light shaft with a particular shape. Feel free to build it in any shape. The shape is effective at controlling how the beam of natural light spreads. Build a light shaft that is flared on all its four sides to ensure maximum spread of light over the widest portion you can imagine. Perpendicular shafts fitted with vertical sides are ideal for focusing light directly below.
Therefore, follow this guideline to help you install skylights on your hours. For this project to proceed smoothly, you will need several supplies. These include skylights, drywall, roofing paper, continuous flashing, step flashing, roofing nails, galvanized nails, and supplies for finishing the ceiling. In addition to these, you will also require a toolkit that contains utility knife, tin snips, flat pry bar, hammer and a circular saw. With these supplies in place, you will have little difficulty installing the skylights.