Ways to Fix Your Leaking Roof without Hiring a Professional
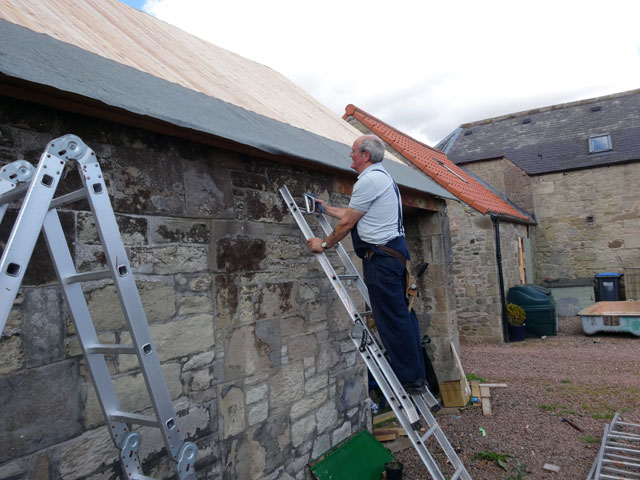
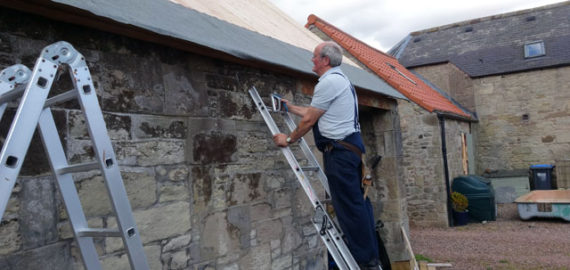
Have you inspected and noticed that the roof is in a bad state? Well, the good news is that it is not mandatory to hire a professional roofer to fix the problem. Even if the issue is a leaking roof, a bit of DIY skill is all you need to rectify the problem and make the roof as good as new. Here, you will learn about the different ways of fixing a leaking roof.
Before working on your skills, it is important that you know the effect of living in a home with a leaking roof. A tiny leak is all that is required for the roof to sheath and rafters to rot. Unresolved leaks eventually affect the insulation by creating the right environment for mold to grow. Mold and moss will affect the health of your family members.
Back to fixing the leaking roof without hiring a professional. Here’s what you should do:
Check for Signs
First, find the leak signs. Running water is one of the most obvious and straightforward signs. Climb on the roof and begin removing shingles from the area you suspect to be leaking. It is important to follow the path to identify the exact source of the leak. For the most part, the source tends to have rotting wood, water stains or discolored felt paper.
Patch the Roof
Next, you should learn how to patch a flat, leaking roof. For this work, you need a specially made primer plus a good patching system. The technique you use will often depend on the recommendations of the manufacturer whose primer or patching system you purchased. Patching the flat roof requires dry conditions. To patch the roof, you need the following materials:
- Brush
- Scissors
- Primer
- Patching system
- Flat roof roller
Inspect the Asphalt Shingles
Third, your attention should be on the asphalt shingles too. Typically, the shingles last around 20 years with proper maintenance. After lifting the damaged shingle, remove the nails. After doing this, remove the damaged shingles completely. Lift the tab that is just on top of the damaged area. Finish by cutting a new shingle to length and sliding it in. You need the following supplies:
- Prybar
- Hammer
- Fresh asphalt shingle (s)
- Roofing nails
- Roofing adhesive
Keep an Eye Out for the Other Broken Systems
While on the roof fixing the leak, do not ignore other systems that need your attention too. Use longer nails for fixing laminated roofing shingles, which are notoriously thicker compared to their standard shingles. Make sure that the laminated roofing shingles are properly fastened to the roof before you go back down.
Fix the Flashing
The leaking flashing needs your attention too. Leaks occur when you hire an experienced person to install flashing. Poorly installed flashing will eventually cause leaks. A malfunctioning flashing is equally guilty of causing the roof to leak. To repair the flashing effectively, you will need the following items:
- Screwdriver
- Dusting brush
- Flashing clips
- Lead sealant
- Sealant dispenser
Focus on the Connections
Damaged connections need some attention too. Many times, you will notice that the source of the leak is the area on the roof that has connections. For such areas, your first task should be removing the damaged caulk. Next, clean the area before drying it completely. Afterward, give the repaired part adequate time to dry. Ascertain that all holes are properly plugged.
As shown here, fixing leaks on roofs is not an impossible task. With the right tools and attention to details, you should have little difficulty identifying the source and fixing the leak. Do not be in a rush. Remember, there is nothing wrong in hiring a professional roofing contractor if you are unable to fix the leak properly.